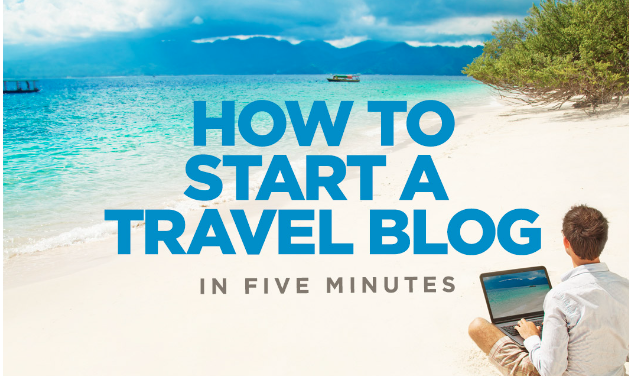
How to create a travel blog.
You like travelling? You can share your experiences by starting a travel blog.Building your travel blog not only secure your travelling experience online but also helps create your digital real estate.Just follow these few steps to get started.
Step 1: Title of Your Blog
A name is where it all begins to create a travel blog. Though it can be challenging, don’t give the name of your website too much thought. The name you select for your blog is significant since it will serve as a representation of you, your brand, and your cherished site for years to come.
Here are some pointers to aid you with the procedure:
Be Special (Not Cliché)
Avoid using overused words that will categorize your travel blog as one of many others when choosing a name. The distinction between you and other bloggers will be blurred if you employ overused travel buzzwords like “wanderlust,” “nomad,” and “vagabond.”
Choose a name that is simple to recall.
Selecting a name for your blog should be straightforward. Avoid using terms that are difficult to remember, hyphens, digits, or anything else that could make it difficult for visitors to remember the name of your site.
Considering social media
Make sure your chosen username is available on all social media networks before deciding on it for your blog. You’ll be able to secure matching handles on Facebook, Twitter, Instagram, and Pinterest in an ideal world. Any blog names that are longer than Twitter’s 15-character restrictions will need to be shortened.
Choose a name that will fit you forever.
Pick a name that you will always be known by. The long-term potential of your blog may be limited by titles like “Wandering Asia Aimlessly,” “20-Something Traveler,” or “The Vagabonding Vegan.” With a restrictive blog name, don’t put yourself in a bind because it can limit your future style.
Step 2: Set up Web Hosting
It’s time to begin create a travel blog from scratch after selecting a killer name for your website. Web hosting is where the entire process begins.However, there are several website builders that can help you design your blog.
The service known as web hosting is what gives your website the tools, space, and support it needs to be seen by everyone on the planet.
You require a web host that provides the following services for you and your website:
- Outstanding uptime (your site never crashes or is offline)
- Swift servers (your pages load quickly)
- Wonderful client service (fast and helpful assistance consistently)
Step 3: Add WordPress to your Blog
WordPress is the world’s most widely used piece of free online software for creating websites and blogs. It is so widely used that 35% of websites on the internet are powered by it.
WordPress is simple to use, has a clean look, and has a ton of plugins available to customize WebPages to the user’s requirements. WordPress may be used without any prior web design expertise. Installing WordPress on your website is simple with SiteGround.
You can also use the best website builders to simplify your design.
Step 4: Choose a theme
You’ll need to install a theme for your blog once you’ve secured your domain, installed WordPress, and secured your hosting. Themes are templates that users can use to alter the general look and feel of their websites.
Here are a few well-liked alternatives:
Theme Forest
Theme Forest is a massive repository of premium WordPress themes, with over 47,000 available for $2 and above. Finding the ideal match for your blog shouldn’t be difficult with so many highly regarded and reasonably priced options.
In addition to themes, Theme Forest also provides a wide range of extra goodies for your website. Theme Forest provides a ton of helpful tools that will help you expand your blog right away, including HTML, logo design, and plugins.
Free themes
You may download a ton of free themes from ThemeForest and ThemeTrust if you intend to use WordPress for your vacation blog. To persuade people to upgrade to the more feature-rich paid version, free themes restrict your blog’s functionality and exclude essential functions.
ThemeTrust
ThemeTrust provides straightforward and efficient options to make your site look great and function well, with a selection of about 20 simple-to-use themes.
How to Install Your Theme
Pick a theme, download it, and then upload it to your website using the installation instructions.
Your website will have a new overall appearance and feel once you’ve installed and activated your new theme. You’ll need to be patient and do a little customizing to get your new theme to appear the way you want.
Step 5: Install necessary plug-ins
Now that you learn to create a travel blog ,It’s time to add some crucial plugins to your site now that WordPress has been installed and a theme has been chosen. The functionality of your blog is improved through plugins, which are add-ons that provide useful functions. These are the top plugins that I suggest:
- Akismet – Guards your blog against spam comments on your content. The best one is available, though not flawless.
- Yoast SEO – A crucial plugin for enhancing your articles’ Google search rankings as well as incorporating Google Analytics and Sitemaps.
- Social network sharing buttons that are simple to use are nice additions to your posts.
- Your travel blog will load faster with WP Rocket.
- With Imagify, your media library’s images are automatically optimized for quick loading.


